History is often taught in fragments, isolated dates, disconnected events and half-told stories. But what if, instead, history moved? What if it sounded like drums, looked like motion, felt like fabric beneath your hands and invited you to see yourself inside it?
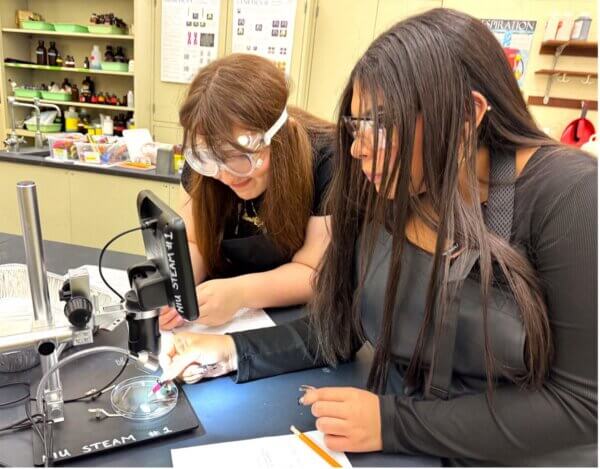
This summer at NIU STEAM, Professor Duckett is doing exactly that.
It’s a five-day, full immersion sprint through thousands of years of global Black history, culture, creativity, and resistance and it’s unlike anything most students have ever encountered.
From Ancient African Kingdoms to Modern America in One Week
This camp begins where most history books don’t: Africa before colonialism.
Students will explore the great pre-colonial African civilizations, including Ghana, the Asante (Ashanti) Kingdom, Ethiopia and Egypt, learning about governance, philosophy, symbolism and culture long before the transatlantic slave trade reshaped the world. From there, the journey expands outward across the Atlantic to Brazil and the Caribbean, into the rhythms, rituals and resistance formed under enslavement. Finally, it lands in the American South and Chicago, tracing how migration shaped modern Black life just miles from NIU.
This is Black history as a global, interconnected diaspora.
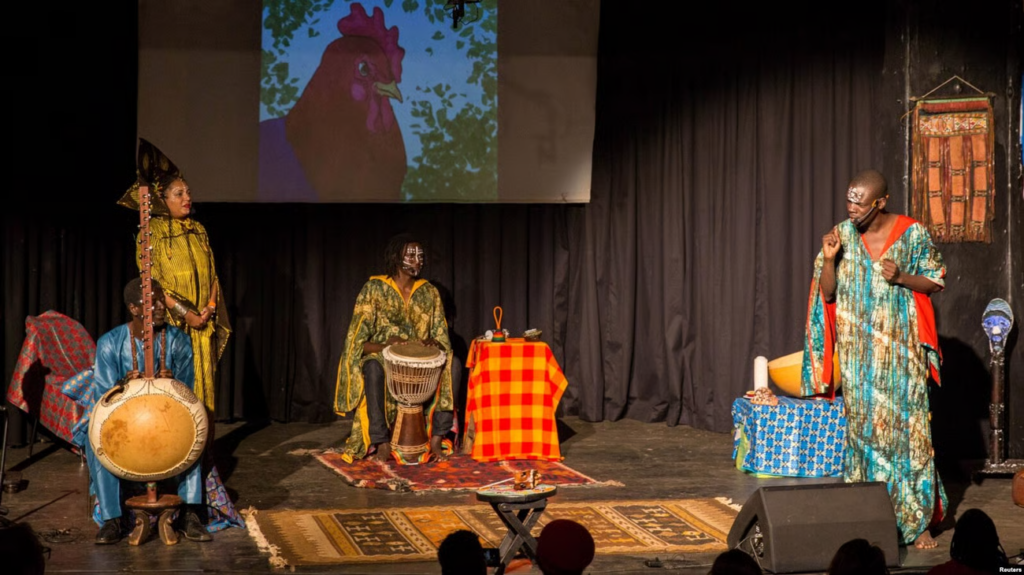
History You Can Feel: Capoeira, Music and Movement
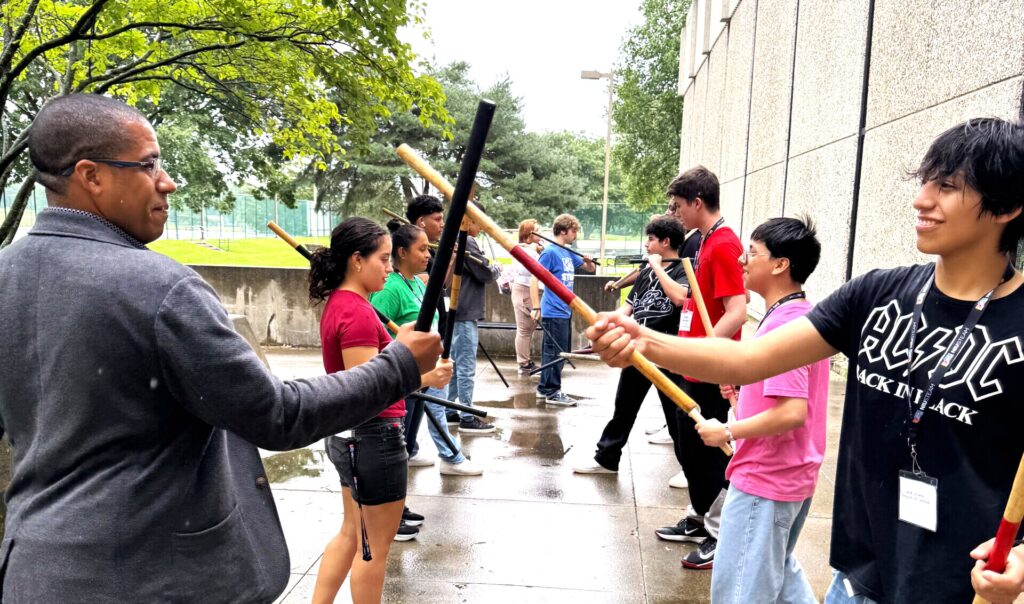
This camp is intentionally hands-on. Students won’t just learn about culture, they’ll experience it.
Professor Duckett brings her own lived expertise in capoeira, music and movement into the classroom. Capoeira is the Afro Brazilian art form created by enslaved Africans to train for liberation while disguised as dance. These aren’t performances. They’re lessons in how culture becomes resistance, communication and continuity.
Create, Don’t Just Consume: Adinkra Symbol Printmaking
One centerpiece project centers on the Adinkra symbols of the Asante Kingdom, symbolic visual languages that represent values, wisdom and identity. Students will learn the meanings behind Adinkra symbols, choose one that resonates personally and create a custom shirt using heat transfer vinyl and printmaking tools.
It’s identity, history and self-expression brought together in something students can wear and carry forward.
A Camp for Everyone
This camp is intentionally inclusive. You don’t need prior knowledge. You don’t need to share a specific cultural background. You just need curiosity.
In a powerful moment on the NIU STEAM Podcast, Professor Duckett captured the heart of the institute with this message:
“World history includes Black history. And everybody has a place in world history.” — T. Ajewole Duckett, PhD
That philosophy shapes every part of the Sankofa Summer Institute. Whether you love history, music, dance, crafts, documentaries, storytelling, or simply learning something real, this camp creates a brave space where questions are welcomed and perspectives expand.
Beyond the Summer: A Pipeline into the NIU Community
This camp doesn’t end when the week does.
Dr. Duckett plans to stay connected with campers and offer mentorship and check-ins, as well as invite students into future workshops, lunches and events through the Center for Black Studies.
For students who later attend NIU, the camp becomes a bridge into academic advising and community support, as well as a nationally respected Black Studies program approaching its 50th anniversary.
This camp teaches one powerful truth: history is bigger than we think and there’s always more to know.
If you want a summer experience that feels alive, challenges what you thought you knew and celebrates creativity, movement and meaning, Professor Duckett’s Black History and Culture Summer Camp is calling.
Come ready to learn. Come ready to ask. Come ready to move and change how you see the world and yourself.
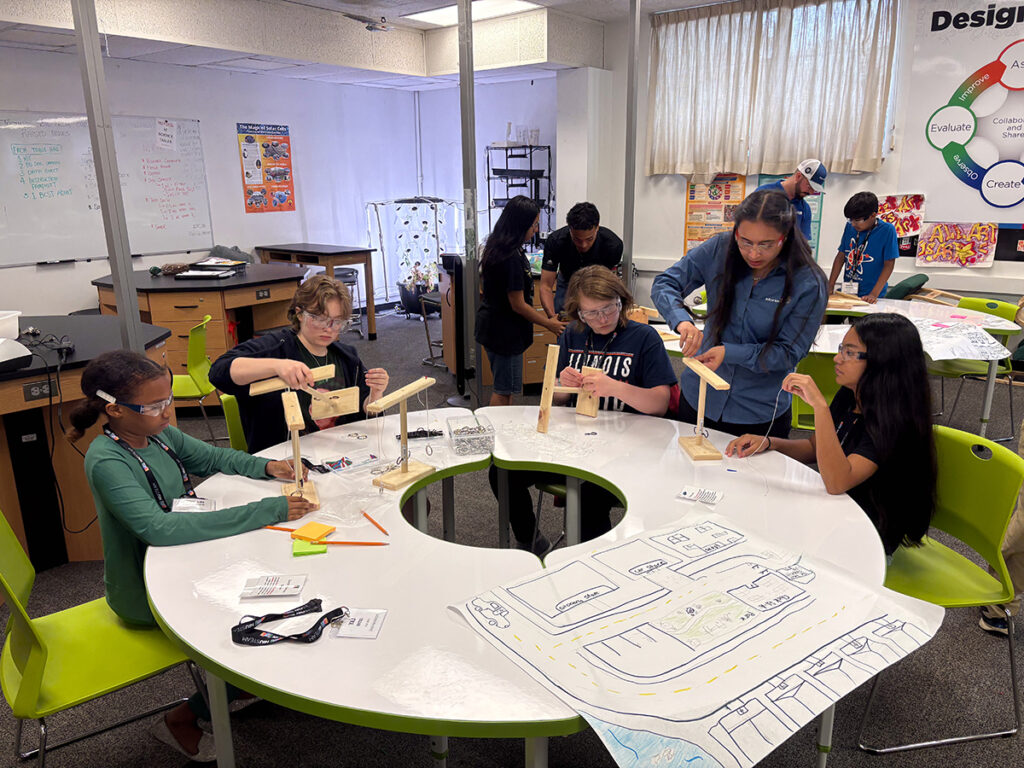
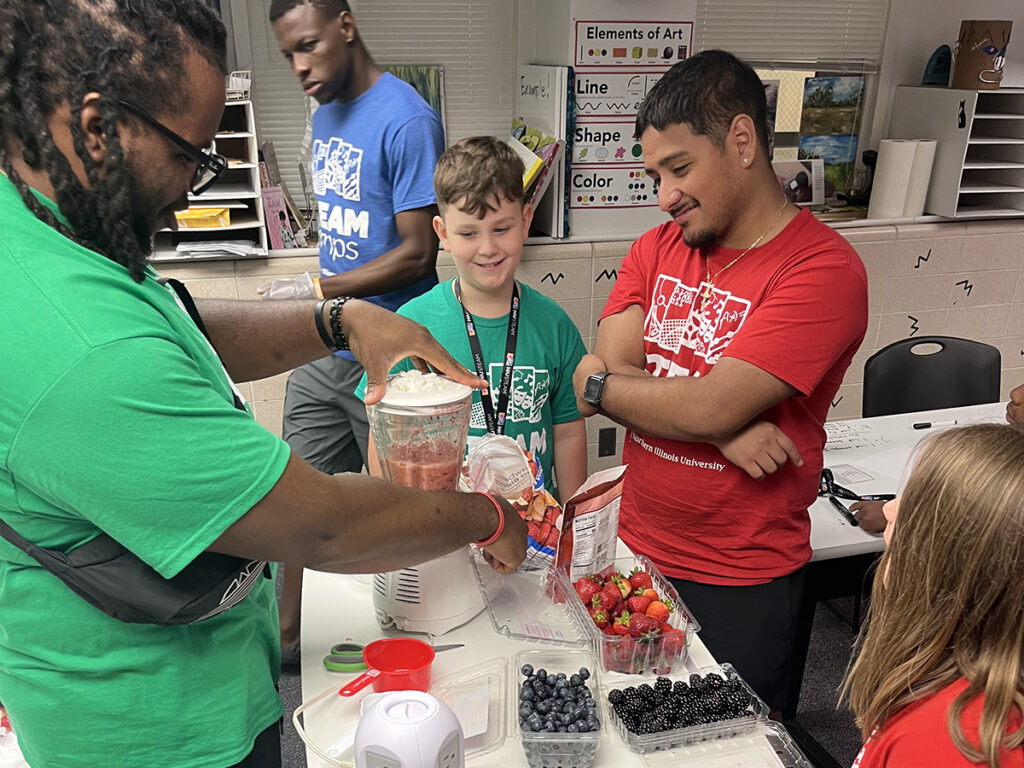
Northern Illinois University STEAM Camps are designed to inspire, motivate and empower K–12 students by immersing them in science, technology, engineering, the arts and mathematics through meaningful, hands-on experiences. These camps have proven to be an effective and sustainable approach to engaging precollege students while introducing them to the NIU campus, its people and its academic possibilities.
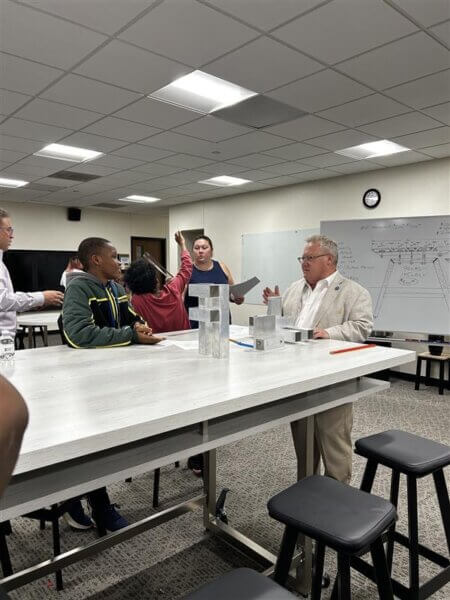
Over the years, the NIU STEAM Camp program has demonstrated consistent success in increasing student satisfaction, confidence and interest in STEAM disciplines. Survey results collected at the conclusion of each camp clearly indicate positive shifts in how students view STEAM subjects before and after participation. By engaging students in competitive, design‑oriented engineering and creative projects, the camps help learners see themselves as capable problem solvers while building excitement for future studies in STEAM.
A defining feature of NIU STEAM Camps is their strong connection to real‑world careers and industry practices. Camp participants learn directly from NIU faculty members, industry professionals and trained NIU student mentors who bring authentic expertise into each learning experience. Students explore engineering, computer science, sustainability, health sciences, rehabilitation services, medicine, urban planning and more, gaining exposure to career paths they may not have previously considered. Health and medicine camps in particular introduce students to professionals such as audiologists and ophthalmologists, helping them understand how STEAM knowledge translates into meaningful, impactful careers.
The camps are intentionally designed to provide students with an authentic university experience. Participants work in NIU computer labs, engineering spaces and digital fabrication environments while living, dining and learning on campus during residential sessions. Daily schedules are thoughtfully structured and followed closely to ensure smooth transitions, balanced engagement and student satisfaction. Each day includes academic sessions, hands‑on project time, collaborative challenges, recreation and reflection, allowing students to remain energized and focused throughout the week.
Strong organization and management further contribute to the success of the program. Campers receive nutritious buffet‑style meals in NIU dining halls, access to campus facilities and guided free time to explore the university environment. College preparation sessions are integrated into the camp experience, offering valuable information about admissions, student involvement, leadership opportunities and what it truly means to be a Huskie. Families and students also receive clear guidance on available scholarships, early‑bird registration options and other university resources that support access and affordability.
NIU STEAM Camps are made possible through the dedicated efforts of NIU faculty members, NIU STEAM staff and NIU students who serve as instructors, counselors and mentors. Their expertise, enthusiasm and commitment create a welcoming and inclusive learning environment where students feel supported and encouraged to explore new ideas. Many former campers later return to NIU as students and staff themselves, creating a powerful cycle of mentorship, leadership and community impact. The success of the camps would not be possible without the invaluable involvement of every individual who contributes their time and talent.
One of the most powerful ways the impact of our camps is shared is through the voices of the people who experience them firsthand. In a recent episode of the STEAM Studio Podcast, NIU STEAM educator Jess Winn and NIU student counselor Erin Lauer share personal stories that highlight the authenticity, care and long‑term influence of the camp program. Their conversation reinforces what surveys and evaluations show by bringing the experience to life through real examples.
Jess reflects on moments when former campers return years later, remembering specific lessons, projects and encouragement they received at camp. Erin shares her own growth from first‑year counselor to student leader, describing how mentoring campers helped shape her confidence, leadership skills and professional direction. Together, their stories illustrate how our camps extend far beyond a single summer, fostering lasting curiosity, leadership development and a sense of belonging. These personal perspectives add depth and credibility to the program’s success and offer listeners a meaningful glimpse into the community that makes our camps special.
Most importantly, our camps help students discover confidence in their abilities and clarity in their interests. By combining hands‑on learning, exposure to real careers and a supportive university setting, the program encourages students to pursue STEAM degrees at NIU and beyond. Our camps do not simply introduce concepts; they open doors to futures shaped by creativity, innovation and purpose.
Registration is now open for upcoming NIU STEAM Camps and spots fill quickly. With offerings for elementary, middle school and high school students, including day camps, residential camps, free programs and scholarship opportunities, there is truly something for everyone. Families are encouraged to explore camp options, learn more about financial support and register early.
Visit our website to learn more and join us this summer. Good morning, campers. We cannot wait to welcome you to NIU!
Ecological Restoration on Campus: Following Your Geek at NIU
Bold thinking thrives where curiosity meets opportunity and at NIU, those opportunities are right outside our doors.
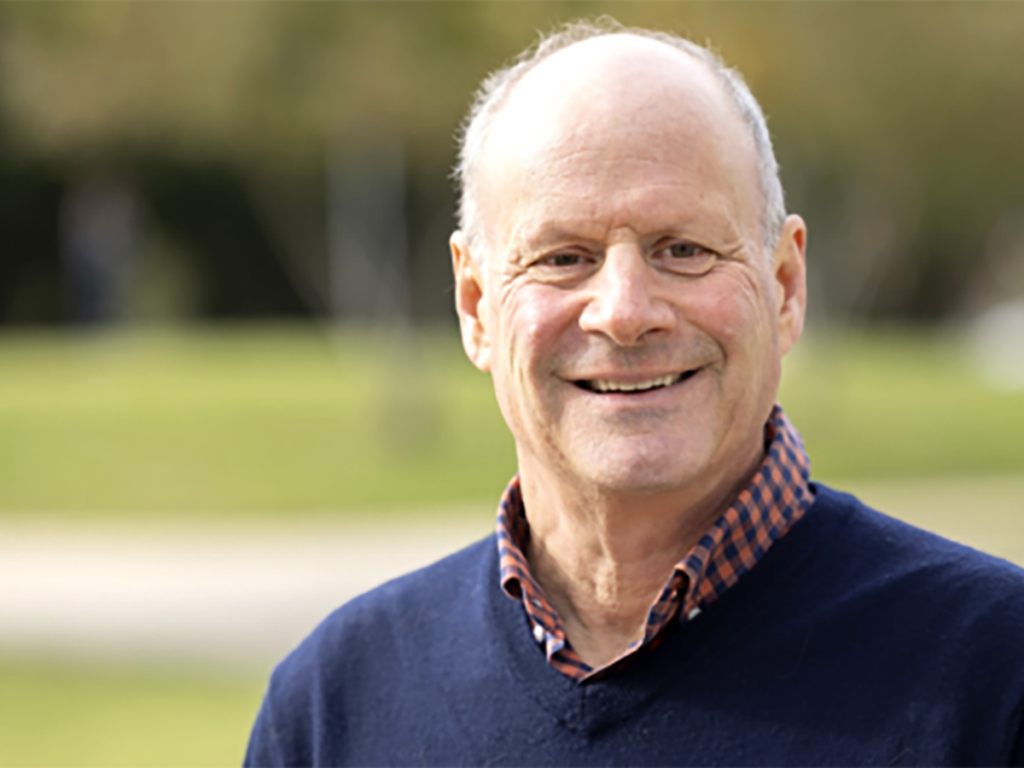
From restored waterways to old‑growth forests, NIU’s campus serves as a living laboratory for ecological restoration, sustainability and undergraduate research. In a recent STEAM Studio Podcast conversation with Bill Martin, assistant professor at NIU, we explored how authentic research, student engagement and stewardship come together within these campus ecosystems. The discussion highlighted what ecological restoration is, why it matters, who belongs in it and how both students and curious adults can get involved.
Ecological restoration brings together ecologists, land reclamation specialists, park and preserve managers, engineers, landscape architects, naturalists and others committed to restoring and stewarding plant and animal communities. At its core, restoration science is about learning from ecosystems, repairing human impacts and asking new questions about how habitats recover and thrive. NIU campus provides meaningful settings for this work because they are complex, lived‑in environments where people and ecosystems constantly interact.
Northern Illinois University is a driver of environmental sustainability, both on campus and beyond. This work is not confined to policy statements or distant field sites; it is visible along walkways, beside classrooms and in forests students pass every day. NIU’s campus functions as an active research landscape where sustainability goals, student learning and community stewardship intersect. These efforts extend beyond campus boundaries into surrounding communities, reinforcing the university’s role in shaping environmental practice and awareness across the region. Students are essential stakeholders in this work, and their participation determines whether sustainability becomes embedded in campus culture and carried forward into future communities.
Restoration projects at NIU are designed as lived experiences rather than abstract concepts. When students collect data, revisit the same ecosystems over time and confront unexpected results, sustainability becomes personal, relevant and enduring.
Two of the most important restoration and research sites on campus are Watson Creek and Montgomery Woods. Watson Creek represents a restored waterway shaped through campus sustainability efforts. It provides undergraduate researchers with opportunities to study water quality, biodiversity and ecosystem recovery. Examining a creek that disappears into and reemerges from campus infrastructure helps students understand that waterways have origins, histories and consequences directly linked to human activity.
Montgomery Woods offers a different but equally powerful learning environment. As a mature, established forest, it provides a rare opportunity for long‑term ecological research on a college campus. Trees in the woods have been tagged and documented, allowing students to collect ongoing data related to forest health, growth patterns and environmental change. Over time, this information becomes a living record of how ecosystems respond to both natural forces and deliberate stewardship.
Research in Montgomery Woods has also revealed an unexpected richness of wildlife activity. Through passive acoustic monitoring, students have documented the owls on campus. These recordings capture animal behavior when humans are absent, offering insight into species that coexist alongside the university community largely unnoticed. Discovering this hidden activity reshapes how students and visitors understand familiar spaces, turning everyday landscapes into vibrant ecological habitats.
Undergraduate research plays a central role in this work. Students from diverse academic backgrounds participate in research focused on plant and insect biodiversity, genetic variability, water quality, toxicology, conservation biology and restoration science. These projects are intentionally designed to be authentic, meaning outcomes are unknown and uncertainty is expected. Students learn that real research involves trial, error, adaptation and persistence rather than following predetermined results.
Authentic research encourages students to sit with unanswered questions instead of rushing toward conclusions. When experiments fail or data does not align with expectations, students learn how to reassess methods, seek new resources and collaborate creatively. These moments build scientific confidence, resilience and independence that extend well beyond any single project.
Ecological restoration at NIU also extends beyond enrolled students. Curious adults who may not identify as scientists are encouraged to explore citizen science and stewardship opportunities. Across the region, projects focused on bird monitoring, butterfly surveys, plant phenology, water quality testing and habitat management welcome public participation. These opportunities vary widely in time commitment, allowing individuals to engage for a single day or over multiple years. Curiosity remains the most important qualification.
Stewardship represents one of the highest levels of engagement in restoration work. It involves ongoing responsibility for the care and long‑term health of a specific space and often includes organizing volunteers and monitoring ecological outcomes. While stewardship requires commitment, it also fosters a deep connection to the land and a shared sense of responsibility for its future.
A recurring message behind campus restoration efforts is the importance of following personal curiosity. Whether someone is fascinated by insects, forests, waterways, soil, data, or systems thinking, there is room for that interest to grow. At NIU, students are encouraged to bring their passions openly and shape research experiences around them. Engagement, curiosity and persistence matter far more than a perfect academic record.
This philosophy will be on display during the April 23, 2026, campus event at Watson Creek and Montgomery Woods. Hosted in collaboration with Campus Sustainability, the event invites students, faculty, staff and community members to learn about ongoing undergraduate research, explore collected data and engage in open conversation about the future of these ecosystems. The gathering is designed as a dialogue rather than a lecture, emphasizing shared learning and collective stewardship.
Ecological restoration on campus reminds us that sustainability is not a finished project. It is a process that unfolds over time through observation, research and care. NIU’s landscapes tell ongoing stories about resilience, biodiversity and human responsibility. By engaging students and community members directly, the university demonstrates how bold thinking can take root in familiar places and grow into lasting environmental impact.
The invitation is simple and expansive. Bring curiosity. Bring commitment. Follow your geek.
If you’ve ever taken the long way around, this episode is for you.
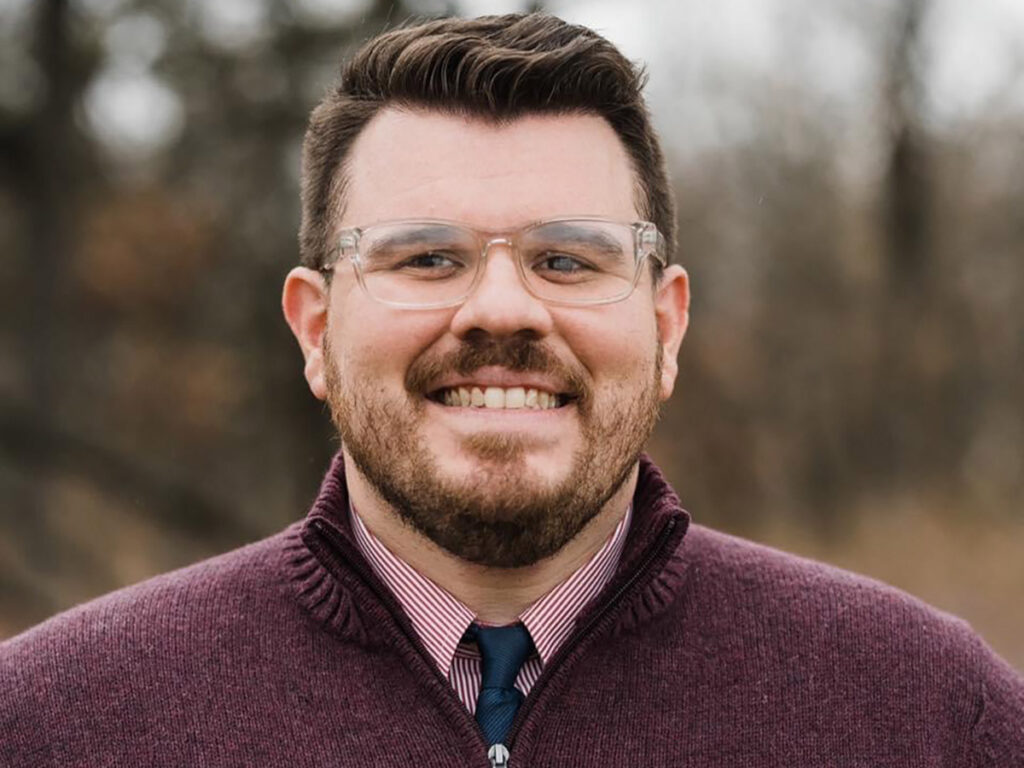
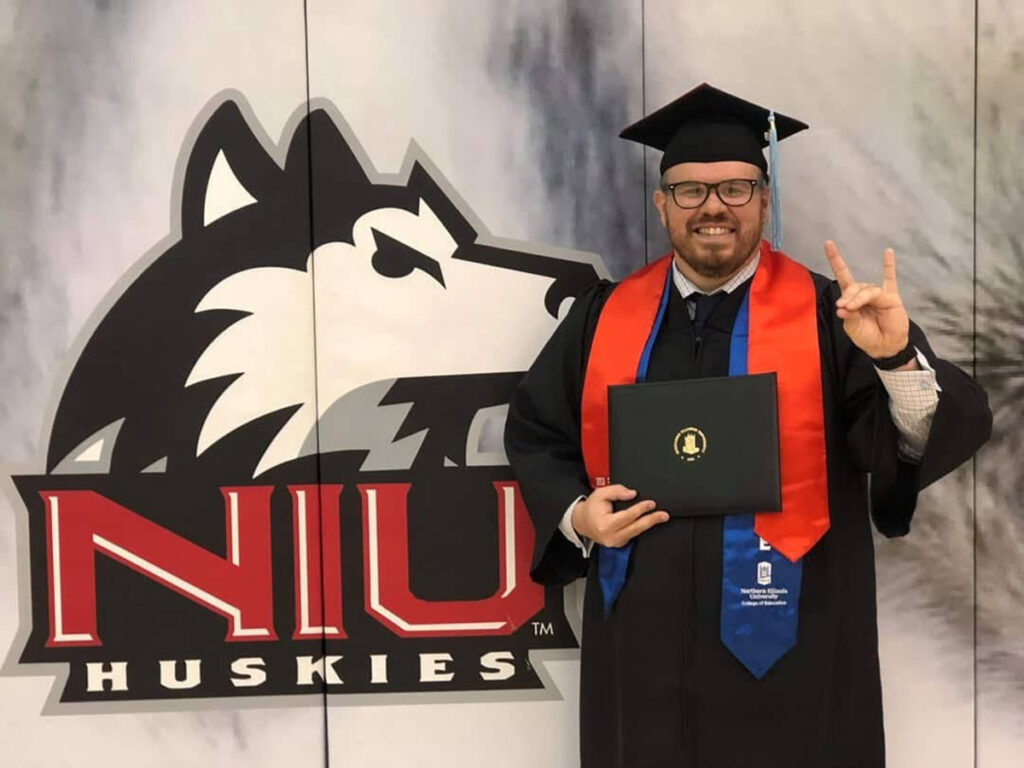
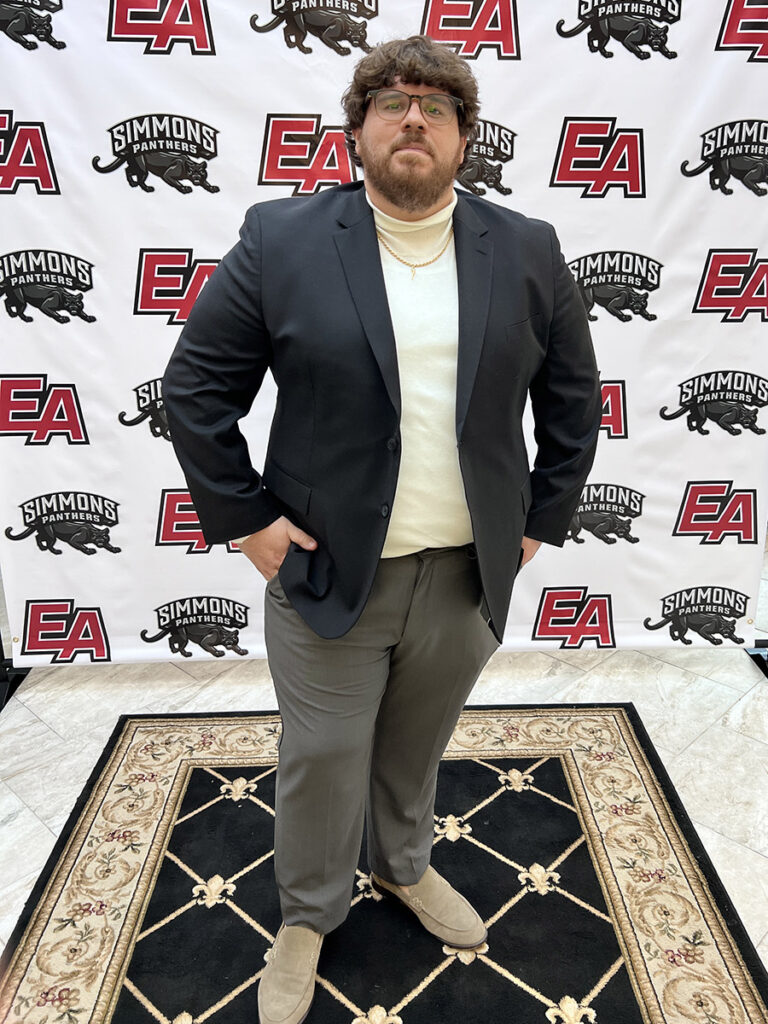
John Gallione is an eighth‑grade U.S. history teacher and middle school athletic director whose journey into education was anything but linear. He struggled in high school, worked through the Great Recession, explored careers in broadcasting and sales and ultimately discovered his calling while coaching middle‑school basketball. After several stops and starts in college, he completed his degree through community college and successfully transferred to finish his education.
We recently sat down with John to talk about his educational path. John’s story blends humor, honesty and professional insight, illustrating how non‑traditional pathways can lead to deep commitment, persistence and purpose. His experience maps directly onto the learning culture we aim to foster at NIU STEAM. One that values growth over perfection, reflection over rigid timelines and people over pathways.
Throughout the conversation, John surfaces powerful themes that resonate with learners at every stage of their journey. He speaks openly about reflective practice, mental‑health literacy and the importance of finding environments where individuals feel supported. His advocacy for therapy and self‑care underscores an essential truth for learners and educators alike.
As both an athletic director and a musician, John sees community forming where shared interests meet. On courts, on stages and in after‑school spaces. These environments, he explains, are not extracurricular to learning. They are where trust is built, identities are explored and students discover a sense of belonging that strengthens their engagement in the classroom.
John is learner‑centered. He invites students to help define expectations for him as their teacher. By doing so, he models mutual respect and accountability. Students are not passive recipients of instruction. They are active partners in shaping their learning environment.
Many listeners will recognize John’s scenic route is far more common than we often admit. And, as his story shows, it can be a strength. Non‑linear journeys build adaptability, empathy and perspective. They remind us that learning is not a race, timelines are not fixed and progress rarely moves in a straight line.
Listen to our full conversation at our NIU STEAM Studio Podcast. At NIU STEAM, we believe stories like John’s matter. They affirm that learning is deeply human, that community fuels growth and that meaningful education makes room for reflection, resilience and reinvention.
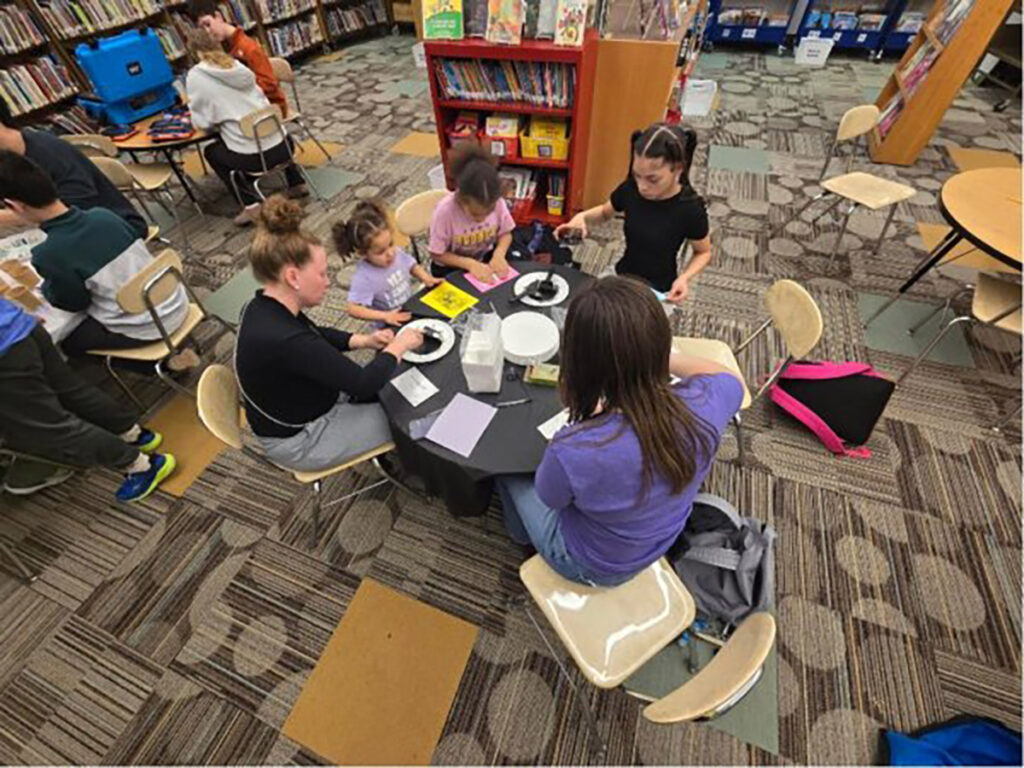
Family learning nights are an important part of the Barb City elementary, middle and high school afterschool programs. When families learn together, parents can better support students in their college and career aspirations.
Hundreds of DeKalb students – from fourth graders to high schoolers – are gaining hands-on college and career exposure through a growing STEAM partnership between Northern Illinois University and DeKalb School District 428.
The partnership began in 2021 with our Barb City STEAM Team afterschool program on the Northern Illinois University Campus. It has since grown to include a high school afterschool program here on campus and an afterschool program for fourth and fifth graders that takes place at three local elementary schools. Our NIU STEAM staff also run the summer school program for D428 middle schools on NIU’s campus in collaboration with D428 teachers.
“We’re really excited about the continuation and expansion of our partnership with NIU, which we’ve maintained successfully since 2021,” says Sarah Montgomery, director of teaching and learning for DeKalb School District 428. “This collaboration is a wonderful investment in getting our students ready for their futures through varied experiences. Our students experience a high-quality STEAM enrichment program, and by getting students onto the university campus, they are also able to experience a sense of belonging within a university setting. The STEAM programming incorporates much more beyond STEAM, including mentoring, tutoring, snacks and an inviting, safe environment. This engaging approach makes learning fun while seriously expanding students’ academic and career horizons.”
Quantum mechanics has a reputation for being strange, abstract and a little intimidating. Particles that exist in multiple states at once. Objects connected across vast distances. Probabilities that matter more than certainty. It can all feel like magic.
But as NIU physics Professor Larry Lurio remind us in the latest episode of STEAM Studio, quantum mechanics is not science fiction. It is not a futuristic invention. It is the rulebook of the universe we already live in.
In recognition of Quantum Day, this episode invites listeners to step into the quantum world with curiosity instead of fear and to discover how this “strange realm” underpins technologies that are shaping the future of computing, medicine, materials science and beyond.
From Intuition to the Invisible World
Much of our everyday intuition is built on a macroscopic world that feels smooth and continuous. Cars accelerate gradually. Objects move predictably. Colors blend seamlessly.
Quantum mechanics breaks that intuition.
At the atomic scale, nature behaves differently. Energy comes in discrete packets. Particles jump between states rather than moving smoothly between them. Even more puzzling, particles can exist in more than one state at the same time until they are measured.
Professor Lurio walks listeners through these ideas using accessible metaphors and everyday experiences, helping bridge the gap between what we can sense and what we cannot see. Quantum mechanics, he explains, does not replace our understanding of the world. It expands it.
Entanglement, Probability and the End of Certainty
One of the most captivating ideas explored in the episode is quantum entanglement, a phenomenon first highlighted by Albert Einstein and his collaborators. Entangled particles share linked behaviors, even when separated by enormous distances. Measure one and the other responds instantly.
This is not speculation. It has been measured, tested and confirmed repeatedly.
To explain this, Professor Lurio draws on the concept of probability, something we all use daily. Weather forecasts, risk calculations and decision‑making rely on probabilities that can be independent or correlated. Quantum mechanics takes these ideas and applies them at the deepest level of reality.
It is strange. It challenges common sense. And it is real.
Why Quantum Matters Now
Quantum mechanics is more than a philosophical puzzle. It is becoming practical.
The episode explores how quantum computing differs fundamentally from artificial intelligence and classical computing. Quantum computers do not specialize in handling enormous datasets. Instead, they excel at certain types of calculations that would overwhelm even the most powerful supercomputers. While current quantum machines are still noisy and imperfect, their potential is enormous.
Applications being explored today include modeling molecular interactions for drug development, optimizing complex systems like transportation networks, advancing materials science and probing physical phenomena we could not previously observe.
As Professor Lurio notes, the most exciting outcome may not be computing power alone, but entirely new ways of “seeing” the universe, much like how microscopes once revealed worlds that had always existed but gone unseen.
NIU and Illinois at the Quantum Frontier
A highlight of the episode is the discussion of NIU’s role in the growing quantum ecosystem. Through close collaboration with Argonne National Laboratory, Fermilab and statewide partners, NIU faculty and students are contributing to cutting‑edge research without needing to “own everything” themselves.
Illinois has made a deliberate investment in quantum leadership, attracting world‑class facilities, talent and funding. NIU’s collaborative culture, access to advanced computing resources and partnerships with national laboratories position it as an active participant in this rapidly evolving field.
For students especially, the message is empowering. You do not need to wait for the future to arrive. Quantum tools are already available. Curiosity, collaboration and willingness to explore matter far more than having all the answers.
Listen, Learn and Join the Conversation
As we celebrate Quantum Day, this episode of STEAM Studio offers an invitation to embrace wonder, lean into complexity and realize that science does not have to be fully understood to be deeply meaningful.
Quantum curiosity does not stop with a podcast. There are multiple opportunities this spring to engage further with NIU’s STEAM community.
Trek Talks Join NIU’s Research and Innovation ecosystem for Trek Talks, where faculty share cutting‑edge work with the broader community. Professor Lurio will be speaking at an upcoming Trek Talks event, offering audiences a chance to experience quantum ideas live and ask questions directly.
STEAM Café Events STEAM Cafés continues to bring complex ideas into welcoming spaces through conversation and exploration. Future sessions will build on themes of physics, technology and real‑world application.
STEM Fest and Community Programming As NIU continues expanding hands‑on learning opportunities, events like STEM Fest and interactive showcases invite participants of all ages to explore science not as something distant, but as something they can touch, question and play with.
Details, dates and registration information are available through NIU STEAM and Research Communications channels.
Quantum Is Not Magic. It’s the World.
Quantum mechanics may feel strange because it challenges how we experience reality. But as this episode reminds us, discomfort is often the first step toward deeper understanding.
On Quantum Day and beyond, STEAM Studio invites you to stay curious, ask bold questions and discover that the universe is far more interesting than it first appears.
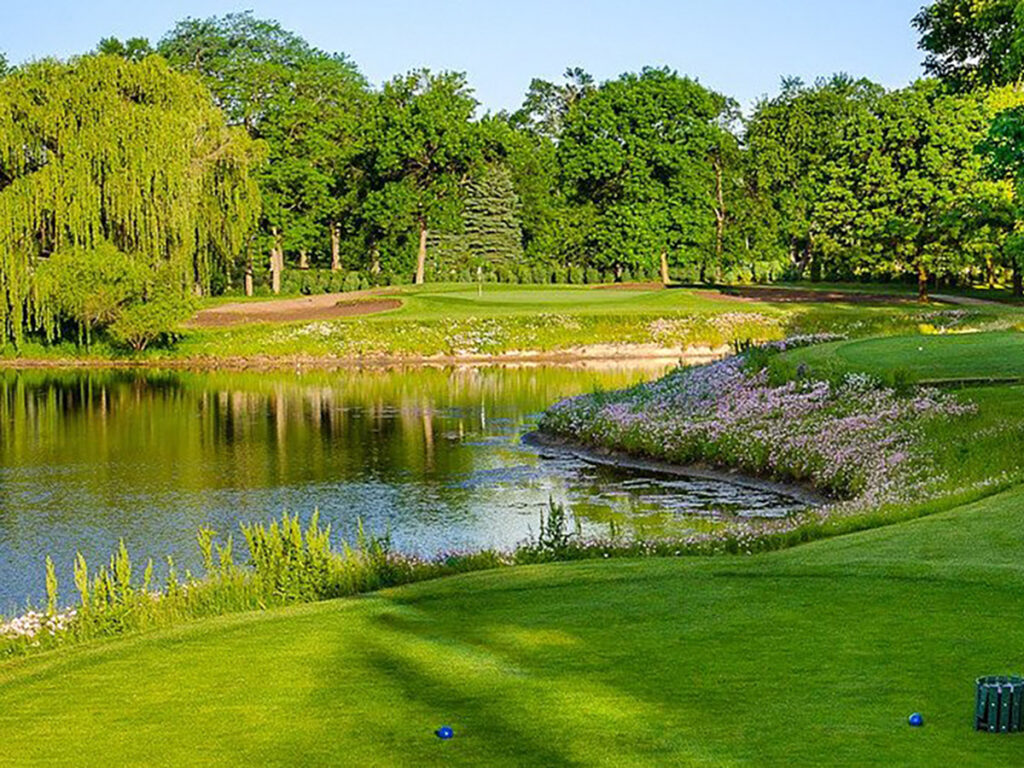
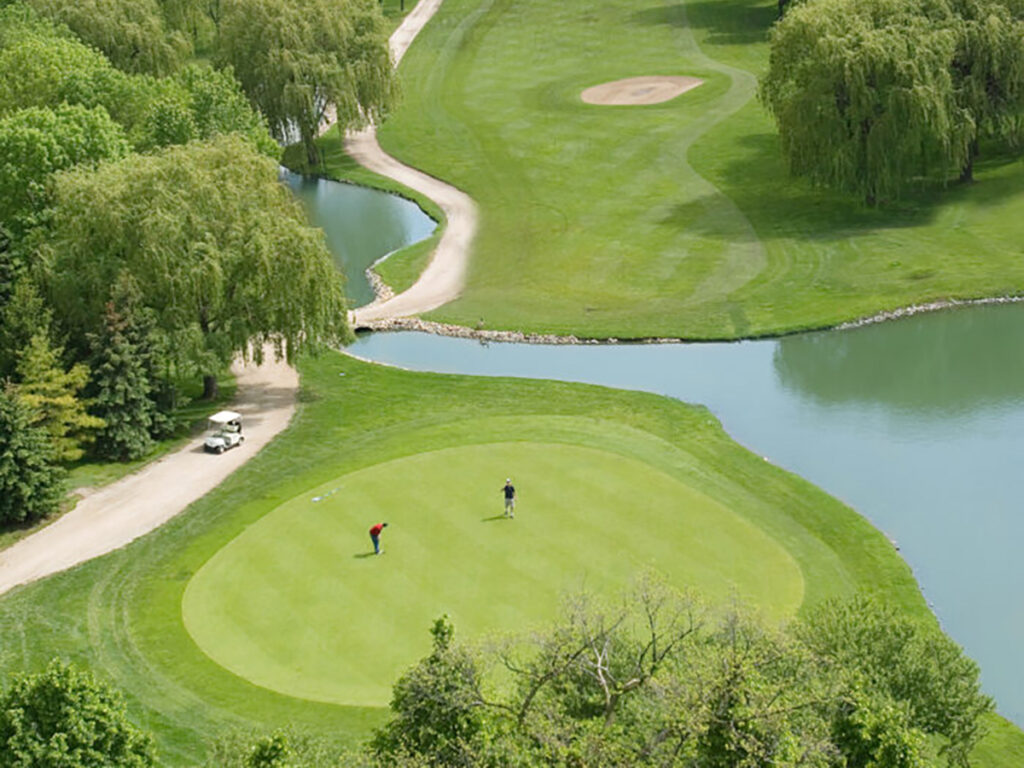
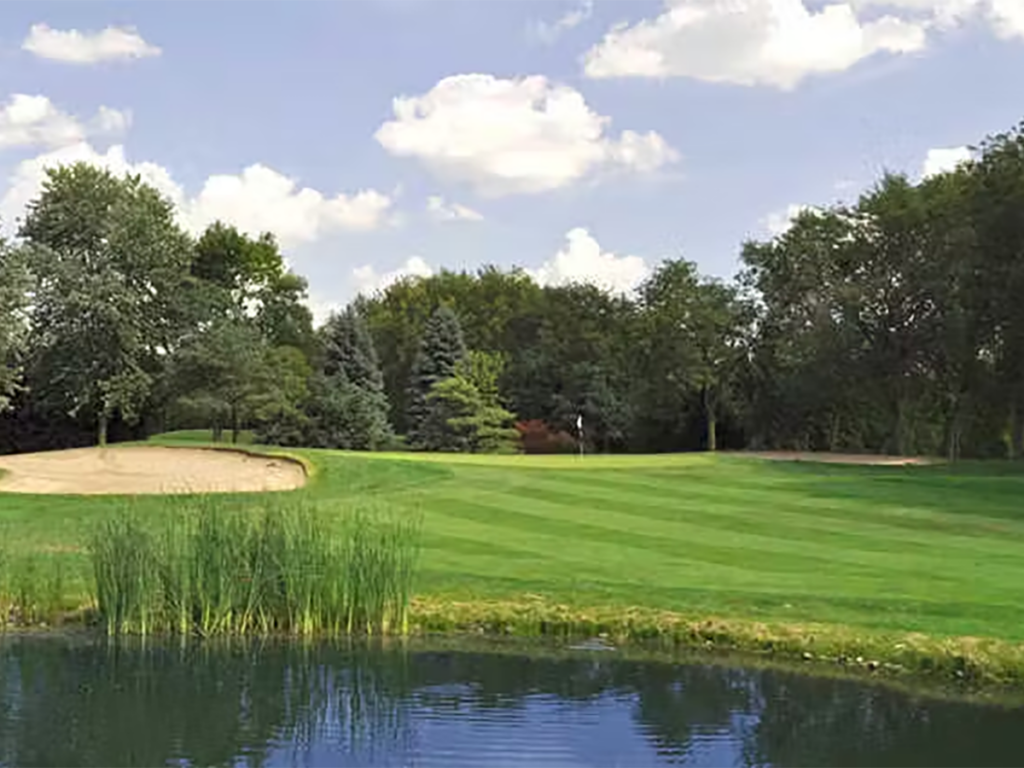
Golf has a reputation for tradition. At White Pines Golf Club, it also has a future.
Open year‑round in Chicagoland, White Pines is redefining what a golf facility can be by blending technology, science, education, and community into an experience that stretches far beyond fairways and greens. Whether you are a lifelong golfer, a curious student, or someone who has never picked up a club, White Pines shows how golf can be welcoming, innovative, and deeply enjoyable for everyone.
One of the most surprising things about White Pines is that there is no offseason. When there is no snow on the ground, golfers are out playing, even in the middle of winter. Staying open all year requires careful planning, thoughtful maintenance, and a team that adapts quickly to Chicago’s unpredictable weather. A warm spring day may bring hundreds of golfers through the course, while a cold and rainy one might bring only a handful. Either way, the course is ready.
That adaptability reflects the work culture behind the scenes. At peak season, White Pines employs more than 150 team members across golf operations, course maintenance, food and beverage, events, and guest services. Many staff members return season after season, drawn by a culture built on collaboration, pride, and care for the experience being delivered. That culture shows up most clearly for first‑time golfers, who are welcomed with patience and guidance rather than pressure.
Modern golf is also far more advanced than many people expect. Technology at White Pines quietly supports both the golfer experience and daily operations. GPS systems help golfers understand distance and pace of play while allowing staff to manage flow and protect the course. Advanced maintenance equipment keeps playing conditions strong throughout the year, even under challenging seasonal conditions.
The technology extends beyond the course and into the equipment itself. Today’s golf clubs are the result of materials science, artificial intelligence, biomechanics, and advanced data analysis. Custom club fitting has become a personalized performance process that matches equipment to how each individual moves. When the club fits the golfer instead of forcing the golfer to adapt, the game becomes more forgiving, more enjoyable, and far more accessible.
This subtle science is what makes golf a natural gateway into STEAM learning. Nowhere is that more apparent than in putting. A putting stroke may look simple, but it is one of the most precise actions in sport. Physics dictates momentum and friction. Biomechanics control posture and balance. Mathematics guides alignment and distance. Technology measures outcomes in fractions of a second.
These ideas come to life through Science of the Swing, a collaboration between White Pines Golf Course and NIU STEAM Café that explores the performance and biomechanics of golf putting. The program begins at 6:00 PM and invites students, educators, families, and community members to experience how science operates in real time through movement and performance. Rather than abstract equations, participants see how small adjustments create measurable changes. It is hands‑on, approachable and designed to spark curiosity.
If you have ever wondered where science shows up beyond the classroom, or how data and biomechanics influence everyday activities, Science of the Swing offers a compelling and engaging answer. It demonstrates that learning can happen anywhere, sometimes with a putter in hand.
White Pines is also committed to making golf welcoming to everyone. Women’s participation continues to grow as the sport becomes more inclusive and approachable. Junior programs and family golf nights introduce kids to the game without pressure and often bring multiple generations together on the same course. New golfers benefit from lessons that explain not only how to swing, but how the experience works as a whole. Removing uncertainty builds confidence, and confidence keeps people coming back.
Golf is one of the few activities people can truly play for life. It connects generations, supports physical and mental wellness, and creates shared experiences that last long after the round ends. At White Pines, golf becomes a space for movement, learning and community.
Meet the Voices Behind Science of the Swing
The conversation behind Science of the Swing features leaders who sit at the intersection of golf, technology, and community, offering perspectives that make this event and the accompanying podcast worth tuning into and sharing.
Andrew Godfrey is the general manager at White Pines Golf Club and is now in his sixth season at the facility after arriving in 2020. Andrew brings a behind‑the‑scenes look at what it takes to operate a year‑round golf course in the Midwest, from adapting to extreme weather to building a staff culture rooted in customer service and inclusion. His passion for keeping White Pines evolving and welcoming shines throughout the discussion.
Stacy Borkowski represents the science and technology driving modern golf. As an outside sales representative for Callaway Golf in North Chicago, she works closely with clubs and retailers across the region, translating cutting‑edge engineering into real performance benefits. With more than 20 years in the golf industry and collegiate playing experience at the University of Kentucky, Stacy offers expert insight into biomechanics, data‑driven fitting, and how technology is making golf more playable for golfers of all abilities.
Paul Palian brings the community lens to the conversation. As superintendent of marketing and communications for the Bensenville Park District, which includes White Pines Golf Club, Paul connects golf to storytelling, inclusion, and outreach. A proud NIU alum with academic and professional experience in communications and sport management, he highlights how partnerships like the upcoming NIU STEAM Café help turn golf courses into community learning spaces.
Together, these voices offer a compelling look at golf as a living system shaped by science, people, and innovation. Their insights make the Science of the Swing podcast episode an engaging listen for anyone interested in how STEAM concepts appear in unexpected places.
Looking ahead, White Pines continues to invest in innovation and engagement. The Illinois State Two‑Person Scramble returns in late April, bringing competitive golf from across the state. Our upcoming STEAM Café: The Biomechanics of the Golf Swing on April 29, showcases the educational power of the sport starting at 6:30 p.m. Expanded Spark Golf leagues offer relaxed entry points for new players, while ongoing community programming ensures the facility remains active far beyond the game itself.
At its core, White Pines is about curiosity, movement, and enjoyment. It is about technology that supports people, science that sparks wonder, and a game that welcomes everyone.
That is how you make the game more welcoming.
That is how you make it more enjoyable.
And that is how you make golf something people can truly play for life.
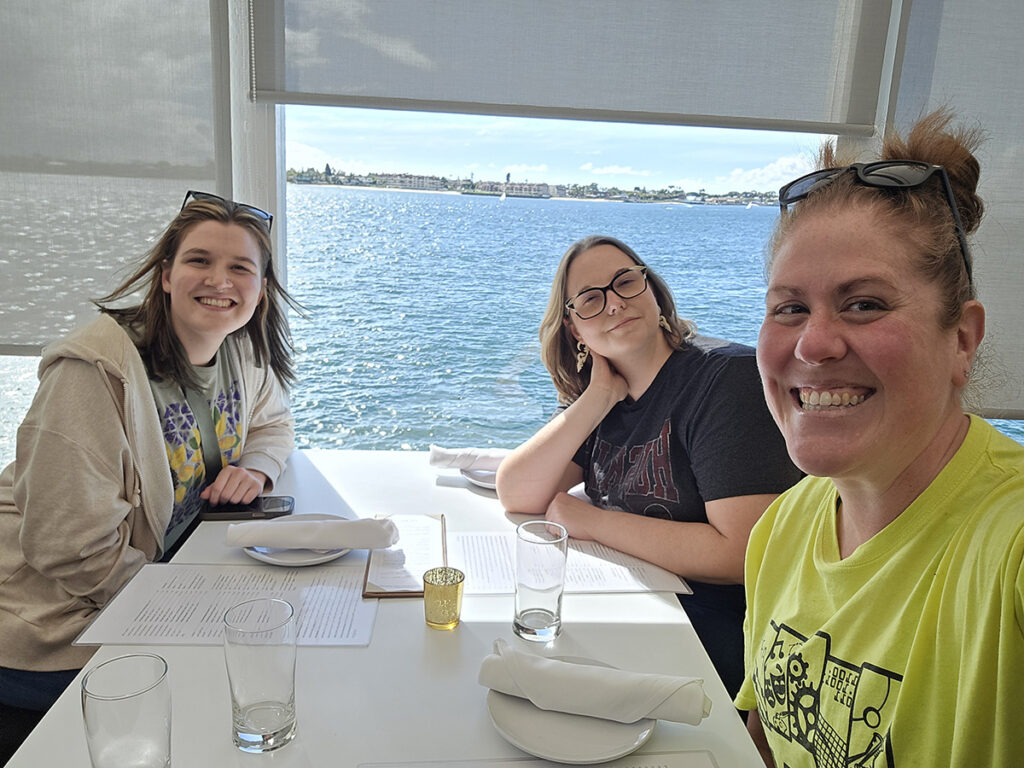
By Erin Lauer, NIU STEAM summer camp counselor and NIU student
Recently, NIU STEAM Educators April Startzel and Jess Winn attended the American Camps Association (ACA) National Conference in San Diego, joined by NIU STEAM camp counselor and NIU student, Erin Lauer. The annual conference brings together camp professionals from across the country to share ideas, build community and strengthen the camp experience for youth nationwide. Below, Erin reflects on the experience from a student perspective.
Attending the American Camps Association (ACA) conference in San Diego this year was an experience defined by support, connection and learning. From the moment I walked into my first session, I knew this was more than a professional event. The people who attend this conference create a community rooted in sharing ideas, encouraging one another, and strengthening the work they love.
One of the most powerful aspects of the conference was the sense of support from every person attending. Whether it was a quick conversation between sessions, shared work experiences during a workshop, or networking for possible job opportunities, there would be an understanding that we all share the same goals. We all want to create a safe, inclusive and empowering environment for those who attend. There was also a huge collective goal of making camp fun. There were many sessions regarding different games, activities, and tools to use to bring fun energy into each camp.
One of my favorite sessions was “10 games every camp professional should know” which was a session full of camp professionals being taught different games they could incorporate into their agenda. I entered this session a few minutes late, but when I walked in, people were doing step-by-step line dancing. Almost immediately there were people waving me in to try it out with them. This session was my favorite not just because I like to play games, but because it was so easy to feel included and have fun. I hopped into line dancing, and every person was willing to teach and laugh with me until I picked up on the moves. That is what we strive for at all our camps. We want campers to try new things and build new connections with the people they meet at camp.
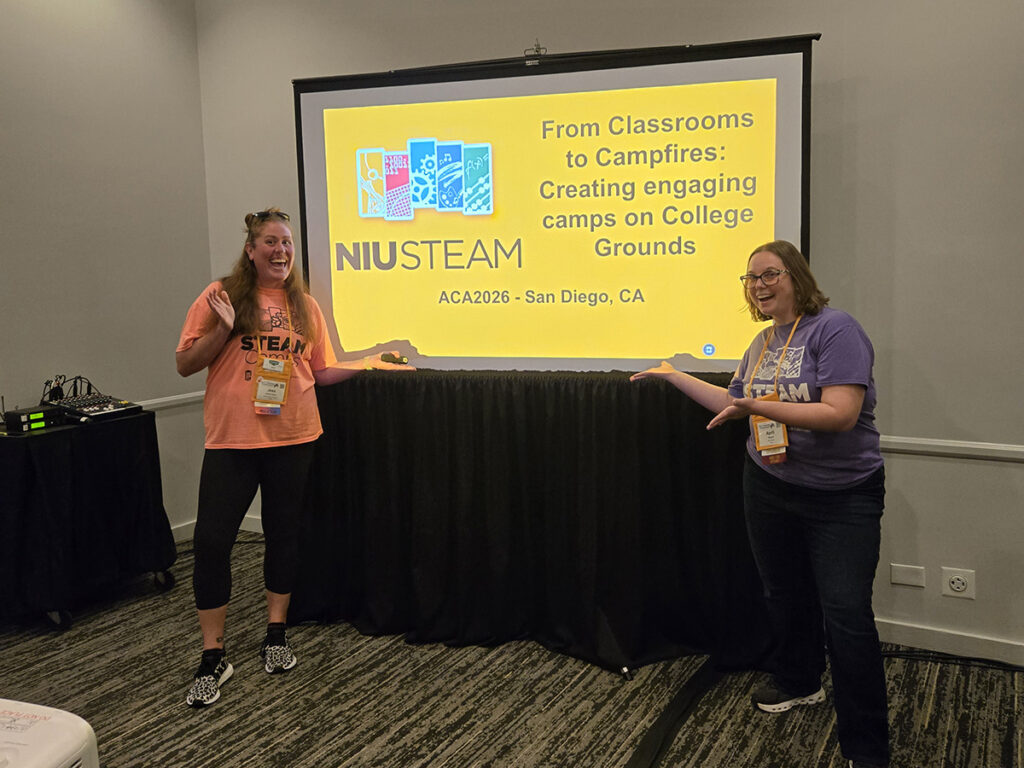
In addition to attending sessions, it was inspiring to see NIU STEAM Educators April Startzel and Jess Winn present at the national level, sharing their expertise with fellow camp professionals.
NIU STEAM Staff Presentation Highlight
From Classrooms to Campfires: Creating Engaging Camps on College Grounds
April and Jess led a session focused on the unique opportunities and challenges of hosting youth camps on college campuses. Their presentation explored how to successfully balance academic enrichment with the playful experiences and friendships that make camp memorable. Attendees learned strategies for designing engaging schedules, training staff and evaluating programs in ways that foster both growth and joy. The session equipped participants with practical tools to transform college campuses into places of excitement, curiosity and discovery.
Attending the ACA national conference left me feeling empowered, inspired, and equipped with new ideas. The conference not only reinforced the importance of the community within the camp profession but also gave us tangible strategies to introduce at our own camps. Whether it was strengthening inclusive environments, better supporting staff and campers, or improving the overall camp experience; these sessions prepared me for a summer full of support, inclusion, learning and FUN.
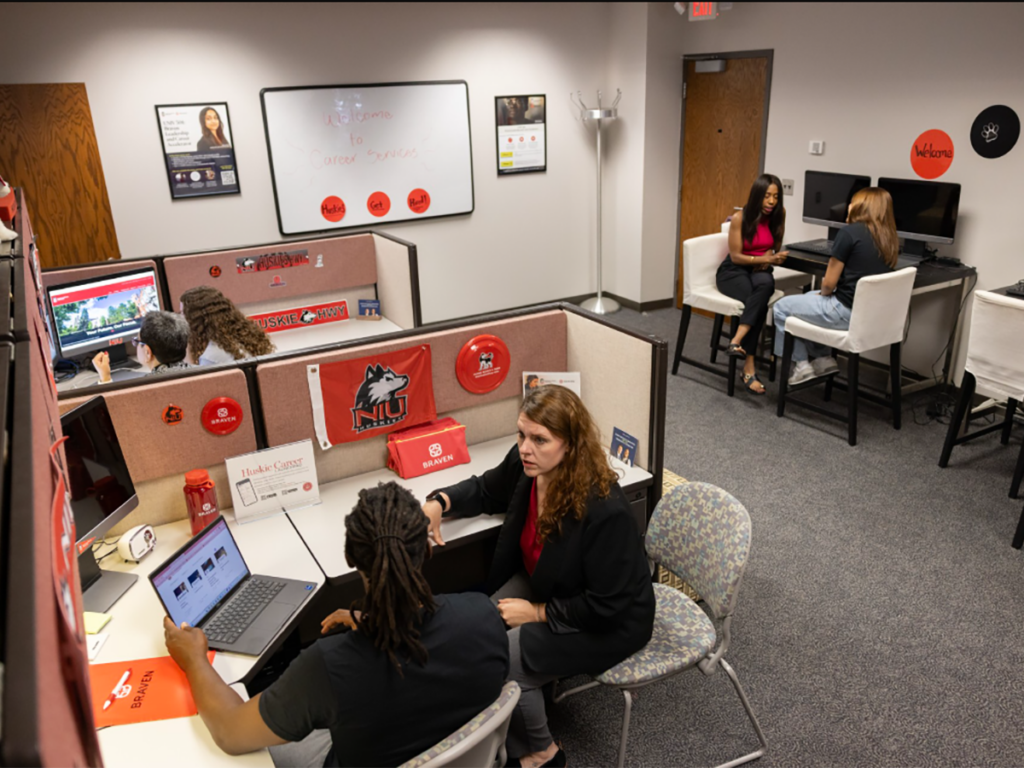
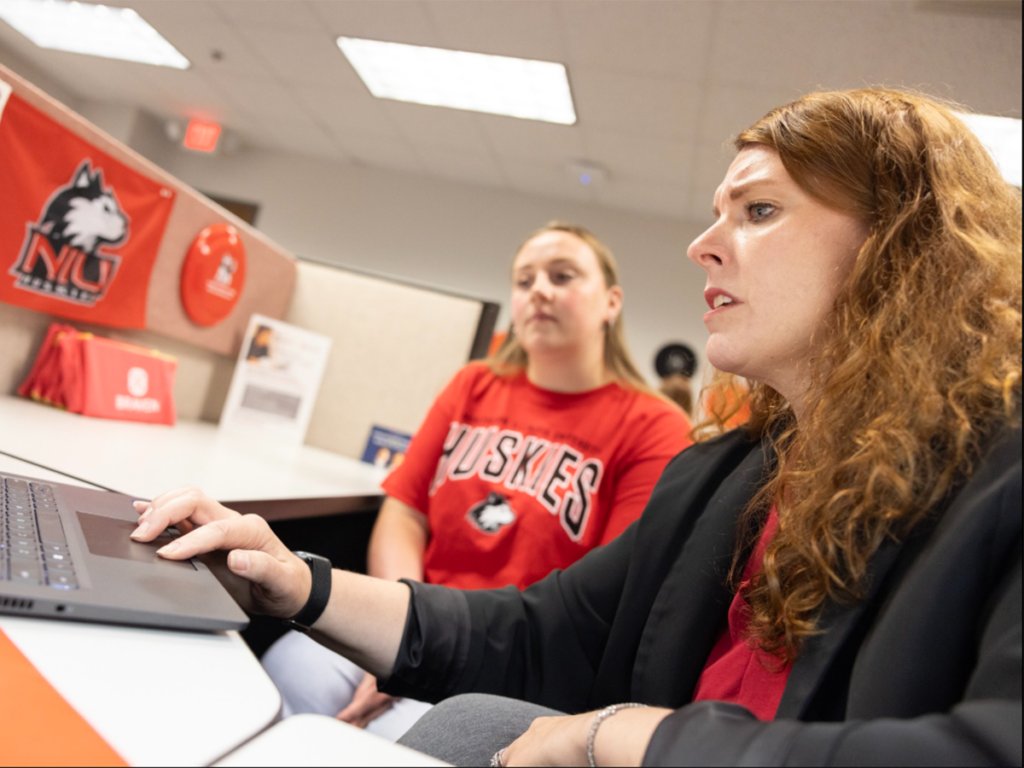
Finding your first real job can feel overwhelming, but Northern Illinois University students don’t have to navigate the journey alone. NIU Career Services has evolved into a powerful hub of support, guidance, and real-world connections designed to prepare students for the fast-paced job market.
Students often think of the job search as something that begins only when graduation is near. Many imagine applications, cover letters, résumés and career fairs as senior year tasks. In reality, a successful transition from college to career is a longer, more intentional process. NIU Career Services offers a clear look into how students can build a solid foundation for career success throughout their time at NIU.
In this episode of the NIU STEAM Studio Podcast, we welcome a trio of experts from NIU Career Services—Michaela Holtz, Director of Career Readiness and Success; Steph Horgan, Assistant Director of Employer Engagement; and Tara Dickson, Assistant Director for Career Counseling and Education. To explore how the office has evolved to meet changing expectations in the labor market, supporting students at every stage from freshmen to graduate students. We dive into emerging workforce trends shaping the future, highlight the university’s expanding resources, and emphasize the partnerships and communities that help Huskies thrive long after graduation.
This episode challenges students to think differently about their career trajectory. Whether you’re creating your first résumé or applying for graduate level positions, NIU Career Services is ready to help you build the skills, networks, and confidence you need to succeed. Listen to the full conversation on STEAM Studio Spotlight, available now on your favorite podcast platform.
Michaela Holtz, Ed.D.. serves as the Director of Career Readiness and Success at Northern Illinois University, where she helps shape programs that connect classroom learning to meaningful career outcomes. A longtime NIU leader and “triple Huskie,” she has spent more than a decade advancing student engagement, experiential learning, and career preparation across campus.
Steph Horgan is the Assistant Director of Employer Engagement in Career Services at Northern Illinois University. She leads strategic outreach and builds partnerships with employers to help organizations connect with NIU talent and create meaningful recruiting opportunities. Steph is passionate about fostering strong employer relationships, understanding workforce needs, and helping employers access top candidates while engaging with the Huskie community.
Tara Dickson is the Assistant Director of Career Services at Northern Illinois University, where she leads the Career Education team and works to expand career readiness programming for students. She holds a Master of Business Administration (MBA) and has extensive experience in higher education, career development, and student engagement. Tara is passionate about helping students connect their academic experiences to meaningful career pathways and preparing them for success in the workforce.